Your cart
There are no more items in your cart


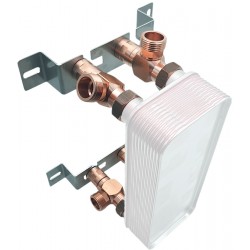
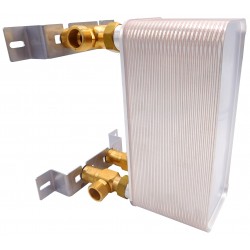
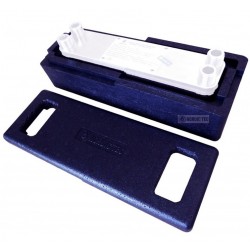
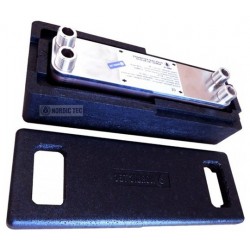
On stock


Leave a comment